

On this page
- What does it mean to automate business processes?
- Step 1: Choose which process to automate first
- Step 2: Map the current process in detail
- Step 3: Redesign the process for automation
- Step 4: Choose tools and architecture
- Step 5: Implement and test the automation
- Step 6: Train your team and change how the work is done
- Step 7: Monitor, measure, and improve continuously
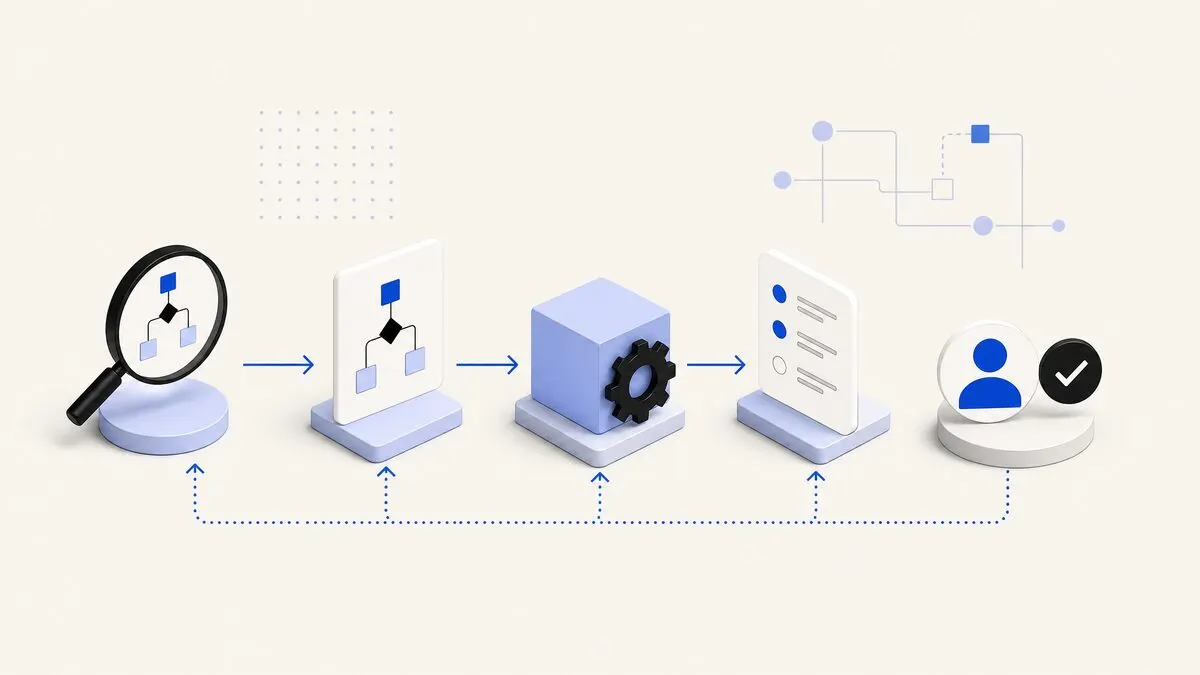
To automate business processes effectively, you need to choose the right workflow, document the current steps, redesign them for automation, then implement, test, and monitor the new system. The method below walks you through that journey in order, so you can reduce manual work without breaking existing operations or confusing your team.
What does it mean to automate business processes?
To automate business processes is to use software to execute repeatable tasks that humans currently do, based on clear rules and triggers. The goal is to make outcomes faster, more consistent, and easier to track, not to remove human judgment where it is genuinely needed.
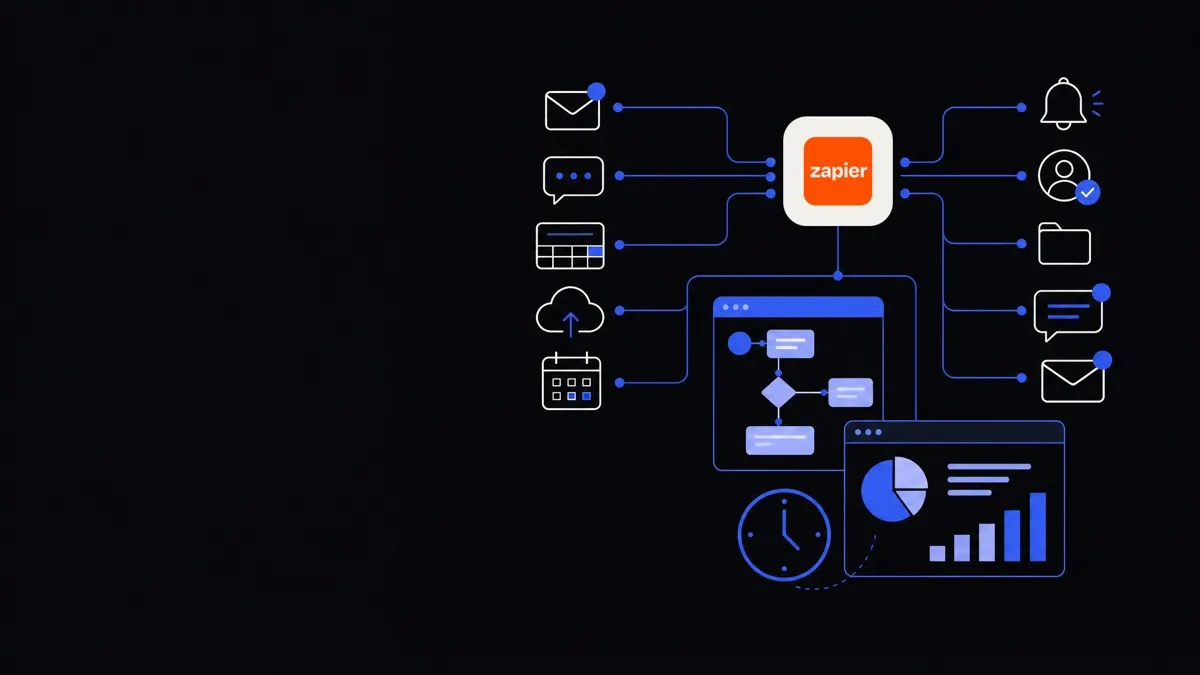
In practice, this often means connecting tools you already use so that data flows automatically. For example, a sales form might create a CRM record, send a Slack notification, and trigger a follow-up email without anyone copying and pasting.
Good automations:
- Start from a well-understood process.
- Respect approvals, compliance, and exceptions.
- Have clear owners, alerts, and logs.
- Can be adjusted without rewriting everything.
You can build lighter automations with workflow tools and APIs, or more advanced ones that involve AI agents and chatbots. The method below works for both.
Step 1: Choose which process to automate first
Not every process is a good first candidate. The best starting point is useful, repetitive, and low-risk.
A simple way to pick:
- List workflows you run weekly or daily.
- For each, estimate:
- Volume (how often it happens).
- Complexity (how many branches and exceptions).
- Impact (time/accuracy/customer experience).
- Score each on a simple 1–5 scale for these factors.
- Shortlist processes with:
- High volume,
- Medium or low complexity,
- Clear rules (not pure judgment calls).
For a detailed method to spot promising candidates, use the approach in our companion guide on how to spot workflows worth automating.
Good first examples include:
- Lead intake and qualification.
- New customer onboarding steps.
- Invoice reminders and payment status updates.
- Routine HR requests like leave approvals.
- Status reporting and recurring dashboards.
Avoid starting with your most complex or politically sensitive process. Early success builds trust and gives you patterns you can reuse later.
Start with one high-volume, low-complexity workflow and make it work end‑to‑end before automating everything else.
Step 2: Map the current process in detail
You cannot automate what you do not understand. Before touching any tools, map the process as it runs today, including all messy realities.
Do this in three passes.
2.1 Capture the actual flow, not the ideal one
Talk to the people doing the work, not just managers. Ask them to walk through real examples.
Write down, in order:
- The trigger — what starts the process.
- Each action — what happens, in what tool, by whom.
- Decisions — what rules or criteria decide the next step.
- Handovers — when work or data switches people or systems.
- Outputs — what counts as “done”.
Use simple language like “Sales rep copies data from email into CRM” rather than system jargon. The point is clarity.
2.2 Identify data, rules, and exceptions
For each step, capture:
- Inputs — fields, documents, files, messages.
- Outputs — updates, emails, records, approvals.
- Rules — “If X then Y” logic, thresholds, SLAs.
- Exceptions — when people break the normal flow and why.
This is where you separate what must remain human from what can be automated. For example:
- “If payment is > $5,000, manager approval needed” is a clear rule.
- “I just check if it feels right” is a judgment step that should probably stay human, at least initially.
2.3 Document pain points and risks
Ask what is frustrating, risky, or slow:
- Duplicate data entry.
- Frequent errors or missing information.
- Long waiting times between steps.
- Lack of visibility on status.
- Dependence on one person.
This becomes your “why automate” list, which you will later use to check if the new design actually helps.
Step 3: Redesign the process for automation
Automation works best when you redesign the process, not when you simply “copy-paste” existing manual steps into software.
3.1 Decide what to automate, assist, or keep manual
For each step in your map, label it:
- Automate — clear rules, repeatable, data is structured.
- Assist with AI — unstructured content where AI can help (classifying emails, extracting fields from documents) but a human still confirms.
- Keep manual — requires nuanced judgment, rare complex cases, sensitive approvals.
For example, a 20‑person accounting firm might:
- Automate client onboarding form → CRM entry → folder creation.
- Use AI to extract line items from uploaded invoices.
- Keep final review of tax filing decisions manual.
3.2 Define the target “to‑be” flow
Design the new flow from trigger to outcome, including both automated and human steps.
Be explicit about:
- Triggers — form submission, email received, file uploaded, status change, schedule.
- Systems — CRM, ERP, HR system, ticketing tool, chat, database.
- Data model — what key fields each system needs, and where the “source of truth” lives.
- Approvals — who approves what, and how they are notified.
- Time limits — how long each step should take, and what happens when it does not.
Use a simple diagram or bullet list. The aim is that a new team member could read it and understand how work will flow once automated.
3.3 Think through trade-offs
As you redesign, balance these trade-offs:
- Speed vs. control — more automation can be faster but may need more safeguards.
- Standardisation vs. flexibility — templates reduce errors but can feel rigid.
- Central vs. local ownership — one global workflow is easier to manage but may not fit every team.
If in doubt, favour a version that can be safely deployed now, with room to expand later.
Step 4: Choose tools and architecture
Only now is it time to think about tools. The right stack depends on your existing systems, budget, and technical skills.
4.1 Common building blocks
Most automated processes rely on some combination of:
- Workflow engines — tools that orchestrate steps (e.g., integration platforms, workflow automation tools, or custom backends).
- APIs and integrations — connections between your apps; see our API integrations overview if you need to connect custom systems.
- Databases or CRMs — where structured data lives.
- Messaging tools — email, chat, SMS, or WhatsApp for notifications.
- AI and document processing — for reading text, extracting fields, or understanding intent; for example, via document processing and OCR.
- Dashboards — for monitoring, like BI tools or custom status pages.
Think in terms of architecture: what is the central “brain” coordinating events, and what are the specialised systems around it?
4.2 When to use ready-made tools vs. custom workflows
You have three main options:
- Native automations inside your tools
Great for simple, single‑app workflows (e.g., CRM rules, email rules).
- Pros: Quick to set up, low cost.
- Cons: Harder to manage end‑to‑end flows that span many systems.
- General workflow / iPaaS tools
Useful for connecting cloud apps with drag‑and‑drop logic.
- Pros: Good visibility, less coding.
- Cons: May struggle with complex volume or on‑prem systems; monthly fees add up.
- Custom-built workflows and AI agents
Built by your in‑house team or an AI automation agency using code and cloud infrastructure.
- Pros: Tailored to your process, scalable, secure, can run advanced logic or AI.
- Cons: Higher initial design and build effort; needs maintenance.
Many organisations end up with a mix. For core business processes that touch customers or revenue, custom or semi‑custom builds are common, supported by business process automation services or similar.
Step 5: Implement and test the automation
Implementation is where designs either survive contact with reality or fall apart. Go slowly and test thoroughly.
5.1 Build in small, testable slices
Break the process into logical segments and implement one at a time:
- Trigger and data capture.
- Data validation and enrichment.
- Core processing steps.
- Approvals and notifications.
- Final outputs and logging.
After each slice, run tests with real or realistic data.
5.2 Create test cases, not just ad‑hoc clicks
Define test cases before going live:
- Normal cases — the 80% path.
- Edge cases — missing fields, strange formats, large attachments.
- Error cases — API failures, timeouts, invalid data.
For each case, specify:
- Input data.
- Expected path and outcome.
- Who verifies it.
This discipline catches many issues before they cause live problems.
5.3 Involve real users early
Run a pilot with a small group of real users:
- Keep the old process available in parallel at first.
- Ask users to record confusing points and errors with screenshots.
- Adjust things like email wording, notification timing, or field names based on feedback.
This is where you discover practical usability issues that a purely technical test will miss.
Step 6: Train your team and change how the work is done
Automation changes people’s daily routines, not just the tech stack. Ignoring this is a common reason projects stall.
6.1 Clarify roles and responsibilities
After automation, define:
- Who owns the overall process.
- Who maintains and updates workflows.
- Who handles exceptions and approvals.
- Who can change rules or thresholds.
Write this down alongside the process diagram. Many problems later are organisational, not technical.
6.2 Teach “how it works” at the right level
People do not need every technical detail, but they do need:
- What triggers the automation.
- What they will see and when.
- How to handle exceptions or failures.
- Who to contact for support or changes.
Short, focused guides or short videos are often better than long documents. For support staff, include how to read logs and re‑run failed steps where relevant.
6.3 Update policies and documentation
Update any:
- Standard operating procedures (SOPs).
- Checklists or templates.
- Onboarding materials for new staff.
Make sure these describe the new automated flow, not the old manual one, or people will keep reverting to past habits.
Step 7: Monitor, measure, and improve continuously
Automation is not “set and forget”. Processes drift, tools change, and your business evolves. Monitoring closes the loop.
7.1 Instrument your workflows
Add basic observability from day one:
- Logs — each run should leave a record: start time, key decisions, errors.
- Metrics — count runs per day, success rate, average time per step.
- Alerts — notify someone if error rates spike, SLAs are breached, or queues grow.
Dashboards help non‑technical stakeholders see what is going on. A simple, central view is often enough; for more complex environments, custom dashboard development can help.
7.2 Define success metrics before and after
Use the pain points you identified in Step 2 as your initial metrics. Common measures include:
- Time from trigger to completion.
- Number of manual touches per case.
- Error or rework rates.
- Customer response or wait times.
- Internal satisfaction with the process.
Compare these before and after automation for a realistic sense of impact. For a fuller financial view, tools like our ROI calculator can help you estimate savings and justify further investment.
7.3 Iterate based on real usage
Watch how people actually use the system:
- Are they bypassing certain steps?
- Are particular errors common?
- Are notifications being ignored?
Treat the automated process as a product that can be versioned:
- Gather observations and requests.
- Prioritise changes that reduce friction or risk.
- Batch improvements into small, testable releases.
- Communicate changes clearly.
Over time, you can also layer in more advanced elements such as AI‑powered chat interfaces for staff or customers using AI chatbot development, or broader business operations automation that spans multiple departments.
Automating business processes is most effective when you take it step by step: choose a good candidate, understand it deeply, redesign it for automation, implement carefully, and keep monitoring and improving. Done this way, you gain not just faster workflows, but a repeatable method you can apply across your organisation.